


Introduction to Understanding Robotic Arms
Robotic arms are not new and have been used in manufacturing factories that build cars and many other things for over 60 years. Companies that produce robotic arms for industrial manufacturing classify robots by color Yellow, Green, and Silver. These robotic arms were designed to precisely perform tedious, redundant tasks in uncomfortable conditions, such as pressure, high temperatures, and even angles. Throughout this article, The Jmor Connection, Inc will share how they are used, what they take to operate, and an overview of the programming theory used. Did you know that robots must be given precise instructions on what group, axis to move, and degree before they will be helpful in your environment?
The Origin of the Term 'Robotics' and Asimov's Three Laws of Robotics
Interestingly the term robotics came from one of Joseph Engelberger’s Columbia University alums, Issac Asimov. Asimov wrote a book entitled “Robots in Practice,” in which Asimov includes his three laws of robotics, and I quote: A robot may not injure a human being or, through inaction, allow a human being to come to harm. 2. A robot must obey orders given by human beings except where such orders would conflict with the First Law. 3. A robot must protect its own existence as long as such protection does not.
The Birth of a Robotics Partnership: George Devol and Joseph Engelberger
George Devol and Joseph Engelberger in 1956 bonded at a cocktail party over their love of science fiction and the theories of robotics. Then, the conversation became more than chit-chat but about working together in a partnership.
Two years earlier, Devol had filed a patent for a general-purpose manipulator to perform repetitive tasks and sought an investor. Engelberger was always curious about how to apply machines in factory automation, and by the end of that night, a plane was created that would change manufacturing factories.
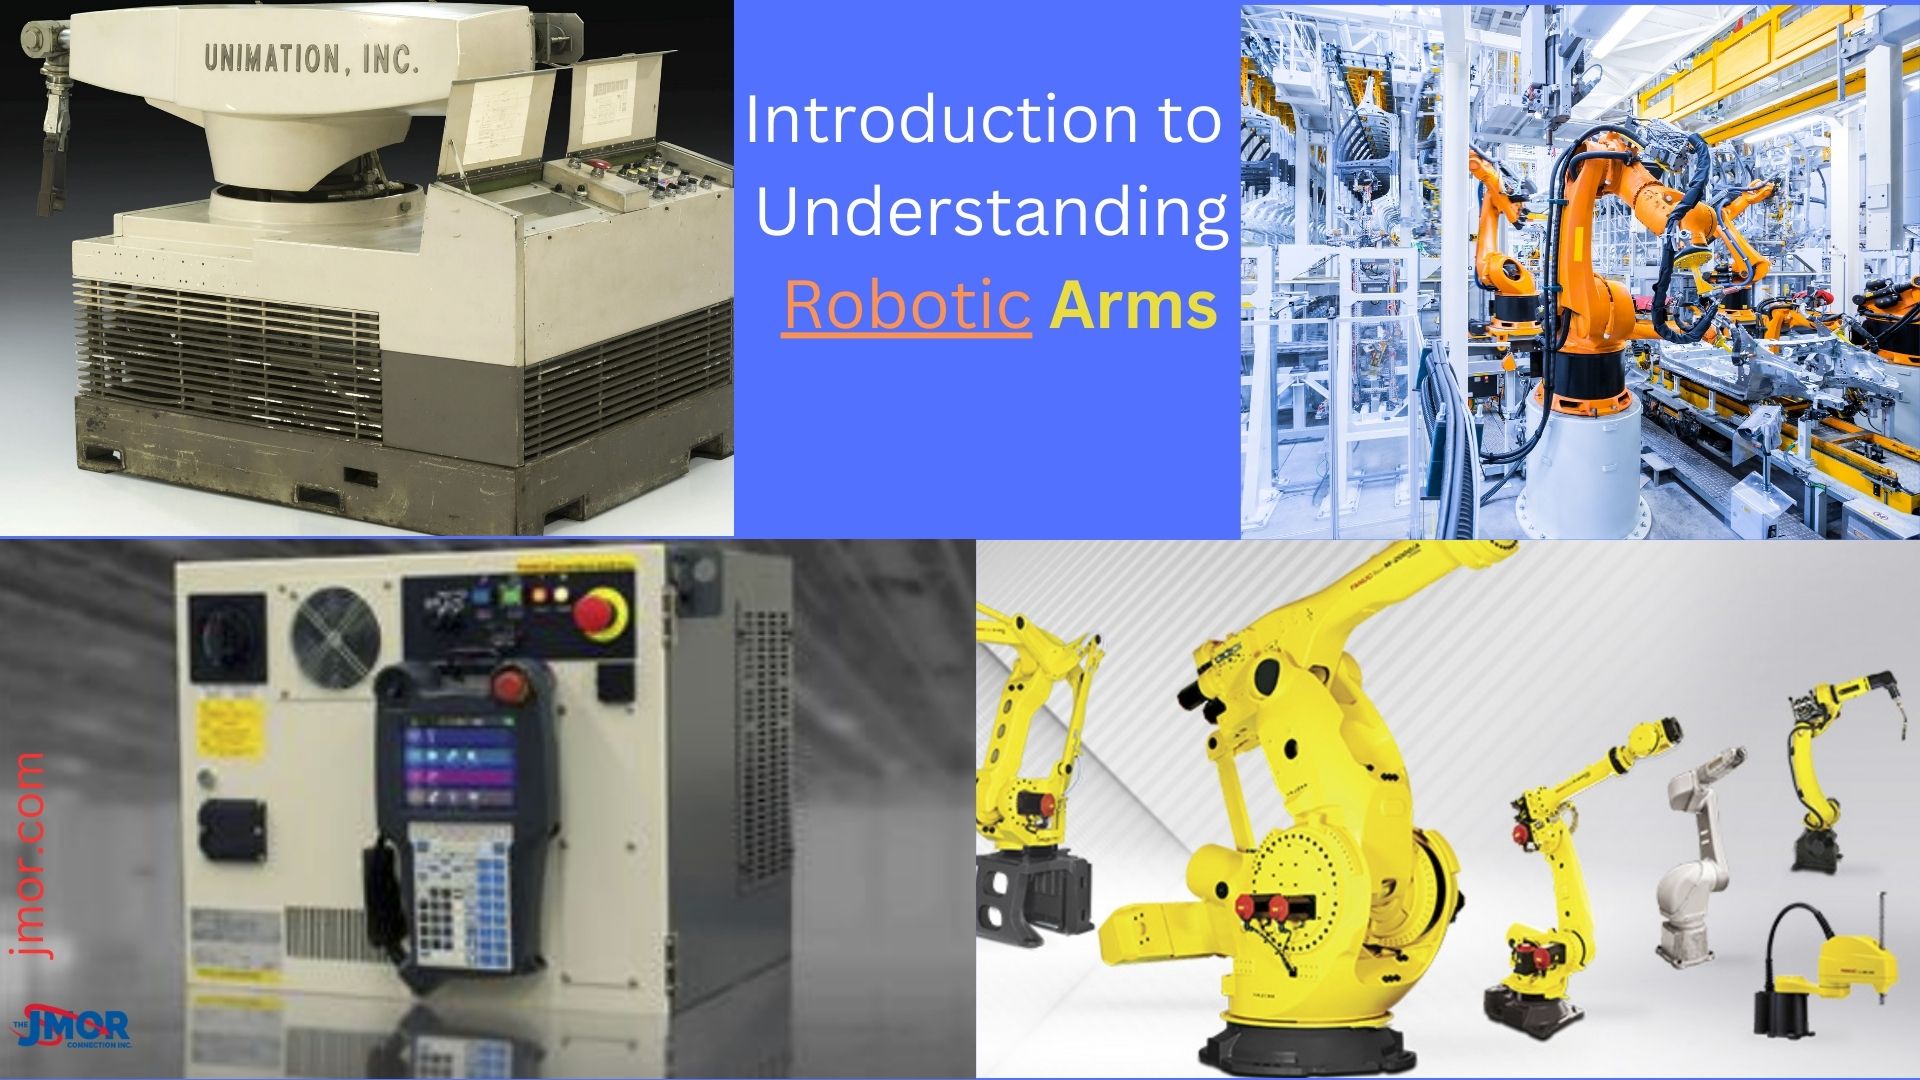
Devol and Engelberger's Unimation and the Birth of the Unimate
In 1959 Devol and Engleberger engineered the first robotic arm, and in 1961, Devol received a patent for his robot invention. Devol created the first robot company, Unimation, an abbreviation for “universal automation.” Did you know the first robot was installed at the General Motors plant in NJ to assist hot die-casting machines?
Unimation then developed robots for welding, painting, and various other applications that proliferated in the automotive industry. When 1966 rolled around, Unimation had issued a license to Nokia in Finland and Kawasaki Heavy Industries of Japan to manufacture and market the Unimate.
Related: How to generate revenue through robotic process automation (RPA)?
A Groundbreaking Leap in Industrial Automation and Memory-Based Robotics
The Unimate was referred to as the first industrial robot, and its primary purpose was to put in factories to perform tasks that would not be safe for humans to take place in. They also felt these machines could do expected jobs many times without ever getting tired, quickly, and with the same precision and quality each time.
Since its first day, from only a two-dimensional drawing to now industrial earmarking, one of the most significant contributions in the past hundred years. The most important thing to take away from the early inventor of the robot arm is that they were the first ever to take the notion of applying memory and automation to be used in production environments. The first robot arm could remember two-hundred steps and be re-programmed at any time.
Categorizing and Understanding Robot Types in Manufacturing
Several robot types are used today; as I mentioned, they are categorized. They make this easy by denoting a color for different application types. A typical robot coming from Fanuc is painted yellow and is designed to work by itself, and must be fenced off to prevent harm from factory workers.
Robots painted in green denote that it is a collaborative robot and do not need safety barrios to be installed around them. Collaborative robots are designed to operate side by side with workers.
Some companies want their robots painted in different colors, and for an added cost, they can; for example, Tesla’s robots on the floor are painted red.
Robot Cabinets and the Importance of Deadman Switches in Robotic Operation
Robots typically have several different types of cabinets that house the controller, such as small cabinets with feet on the production floor and open-air cabinets. One task that needs to be performed after a robot has been shipped without configuration is to jog the robot. Before you can successfully jog a robot, one needs to understand what a “Deadman switch is and how it operates.
A deadman switch has three positions: when the robot arm cannot be moved in the released, gripped, and squeezed position. When the deadman switch is pressed lightly, also known as maintained, the robot’s servos will release.
To accommodate left and right-handed people, there are two deadman switches, one on the left and one on the right, underneath the teaching pendant to prevent automatic operation while the robot is learning.
Using the Deadman Switch for Joint Movement Control on a Fanuc Robot Controller
Now that we know how the deadman switch works, press the deadman switch so it is maintained but not fully depressed to the second click position. On a Fanuc robot controller next, while maintaining the pressure to trip the first switch position, press the coordinate key until the display shows a black square on the top right of the screen reads joint.
By selecting this function, we tell the robot arm to move only one joint at a time. One can move the specific joint while pressing the deadman switch by depressing either J1+ or J1-. Again, remember that the deadman switch must be in the first position while holding the shift key, or the process will have to be repeated.
We jog to master the robot, so it knows where it is by using the encoders on each servo. Important to note that the batteries on the robot allow the encoder counts to be stored on the robot; however, if they go dead and power is lost, the mastering configuration will be lost.
Thus, remember to change the robot’s batteries when the power is on. Now that the robot arm is all mastered, the next step is to teach it some moments it will carry out.
Using Encoders and Battery Maintenance for Accurate Positioning
Now will start and create a new program so we can start plotting points the robot will move to.
Creating and Configuring a Robot Program
First, we need to press F2, hit the create button, and then hit options and choose hit F5, which is the keyboard, then give the program a name describing what it will be doing. Next, hit the exit button, and you will see the name you assigned to show up under the header program name.
After this, hit F2, which is detail, then use the arrows to move down to the group mask, set the group number 1 for the robot, put the others you are not using to “*’ and hit F1 to end. Then hit the next key and F5 for edit and choose insert.
Following this hit enter, and it will prompt you for the number of lines your want to create, such as 10, and enter.
Setting the Perch Position and Program Initialization on the Robot Controller
Now press reset, depress the deadman switch to the first clicked position, and hit well while holding the shift button. We will now set the point at which the robot will be in the perch position or the one it needs to be at before the program can execute. Then hit number 1, hit enter, use the up
Configuring the Perch Position and Robot Calibration for Precise Movements
Arrows to move over @P[1], scroll over and hit F4, and change from a P[] to a PR[]; we will enter in the perch position we have stored. Hold the deadman, hit reset, press shift, and hit x+, x-, y+, y- or x+, y- respectively to move the robot from joint one. Use the down arrow to the following line, and hit F1 to save the point.
Thus, you can see it is not hard, but it does take some time, to calibrate the robot and get it into the appropriate positions using the joints respectively. Many robots today can move on the joint, world which is x,y,x +-, respectively, and tool orientation mode to make it easier for the operator to program.
Related: How to program a robotic arm?
The Role and Cost of Robot Arms in Modern Automation
Thus, in conclusion, robot arms have proven helpful in the past and are becoming more so today with the ability to add additional robot accessories that can be controlled. A four-axis Fanuc robot costs about $25000,000 and goes as high as $400,000 for a six-axis robot.
Collaborative robots designed to be in whole operation with people close by are about $100,000. I hope that today’s article shared some light on how robotic arms work and how they have evolved.,
Check out more of my great content at
http://believemeachieve.com